
The good weather has put me in a mood to start cleaning up the patio and add some plants. My one problem is that I'm a plant killer. Everything just dies and when I say everything, no joke. Everything! It's mostly because of neglect. I'm often running around busy with friends, blogging, events, work.. and so many other adventures that watering my plants isn't a 1st priority. So many friends have suggested cactus's and succulents (I killed mine last year) but here's to another chance. Maybe these will survive or my lovely roommate will water them occasionally for me. I've already been stabbed by the cactus twice so this maybe a sign that this will not go so well.

Enough of me talking about killing plants. This post is about is the planters.
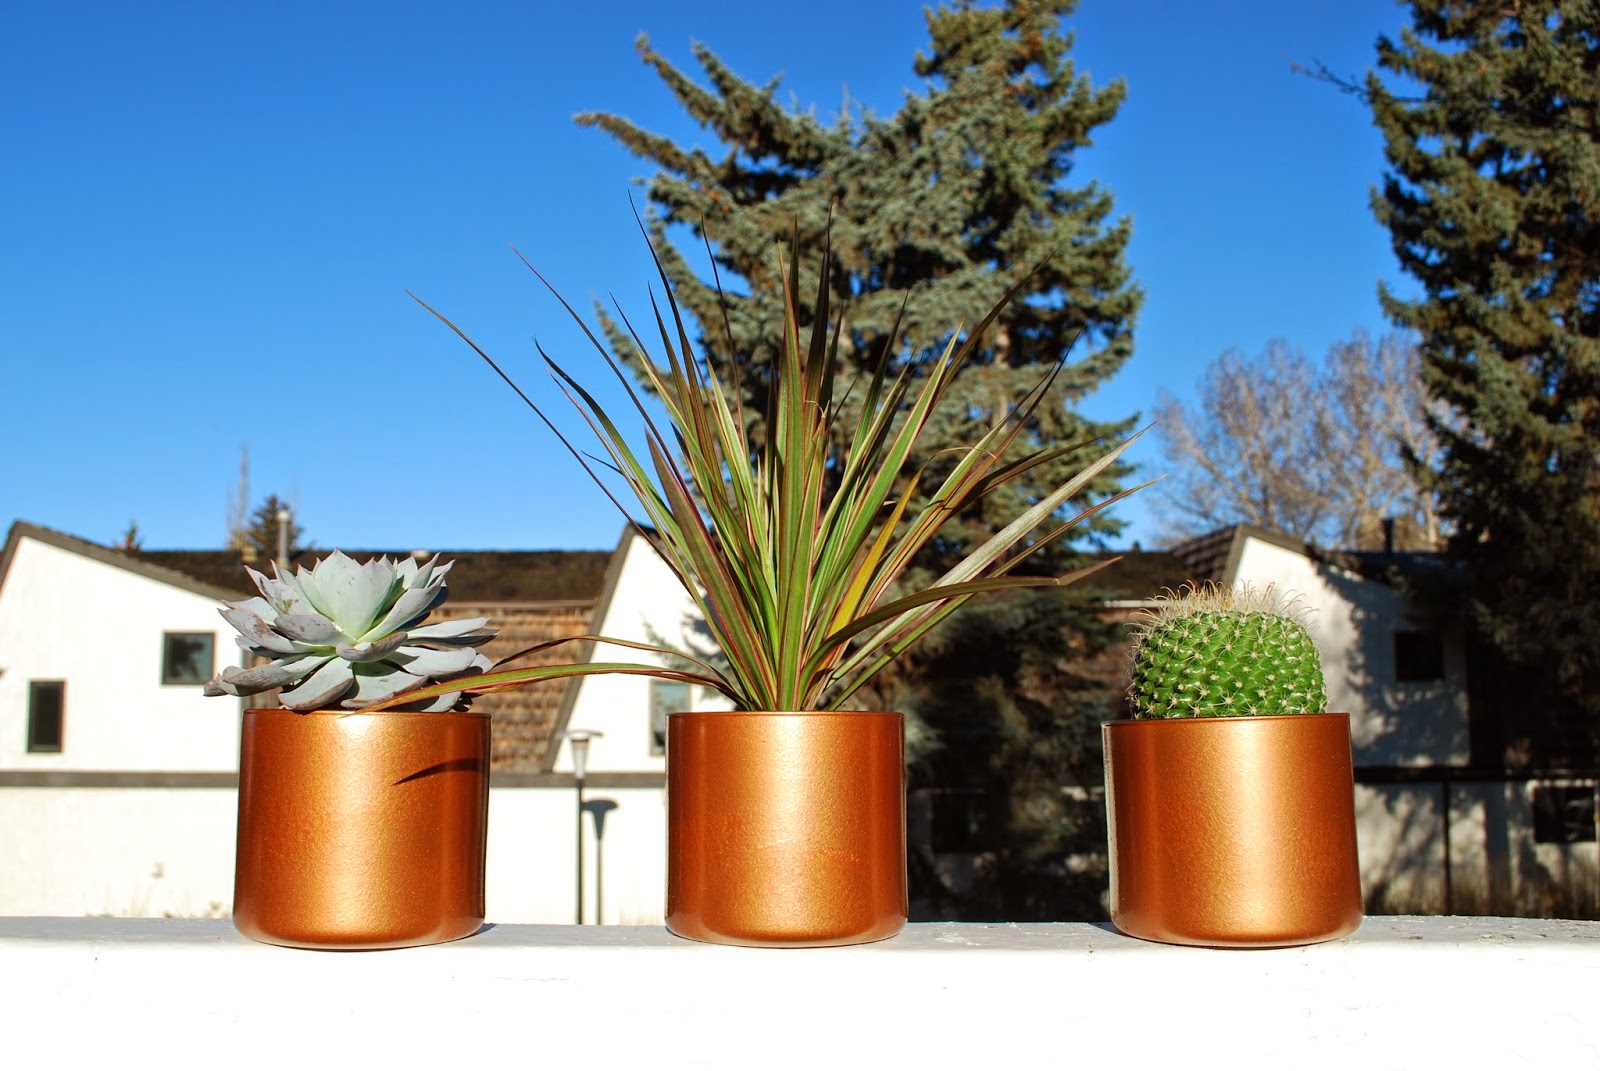
As usual i've been pinning like mad and come across so many variations
of copper planters that are so lovely that they simply needed to be
DIY'd. I've amassed a collection of glass candle jars (these are the
bath & body works 3 wick size) When they go on sale, I buy! lets just say they go on sale often.

What you will need:
Glass jars, tins, old vases
Copper spray paint - this one is from home depot. The colouring is darker for this version which also has a bit of the hammered texture. You can also try Walmart or Michaels for a lighter colour.
News paper/ card board - something to protect the surface around what you are spraying
These were pretty simple to do, but remember to spray them in a well ventilated area. Like a patio or open garage. For the best results spray them with 2-3 light layers and 30 min in between to avoid drips for the best even coverage.


3 plants from walmart - $10
Spray paint from Home Depot - $10
Glass Jars - reused from finished candles
No comments:
Post a Comment