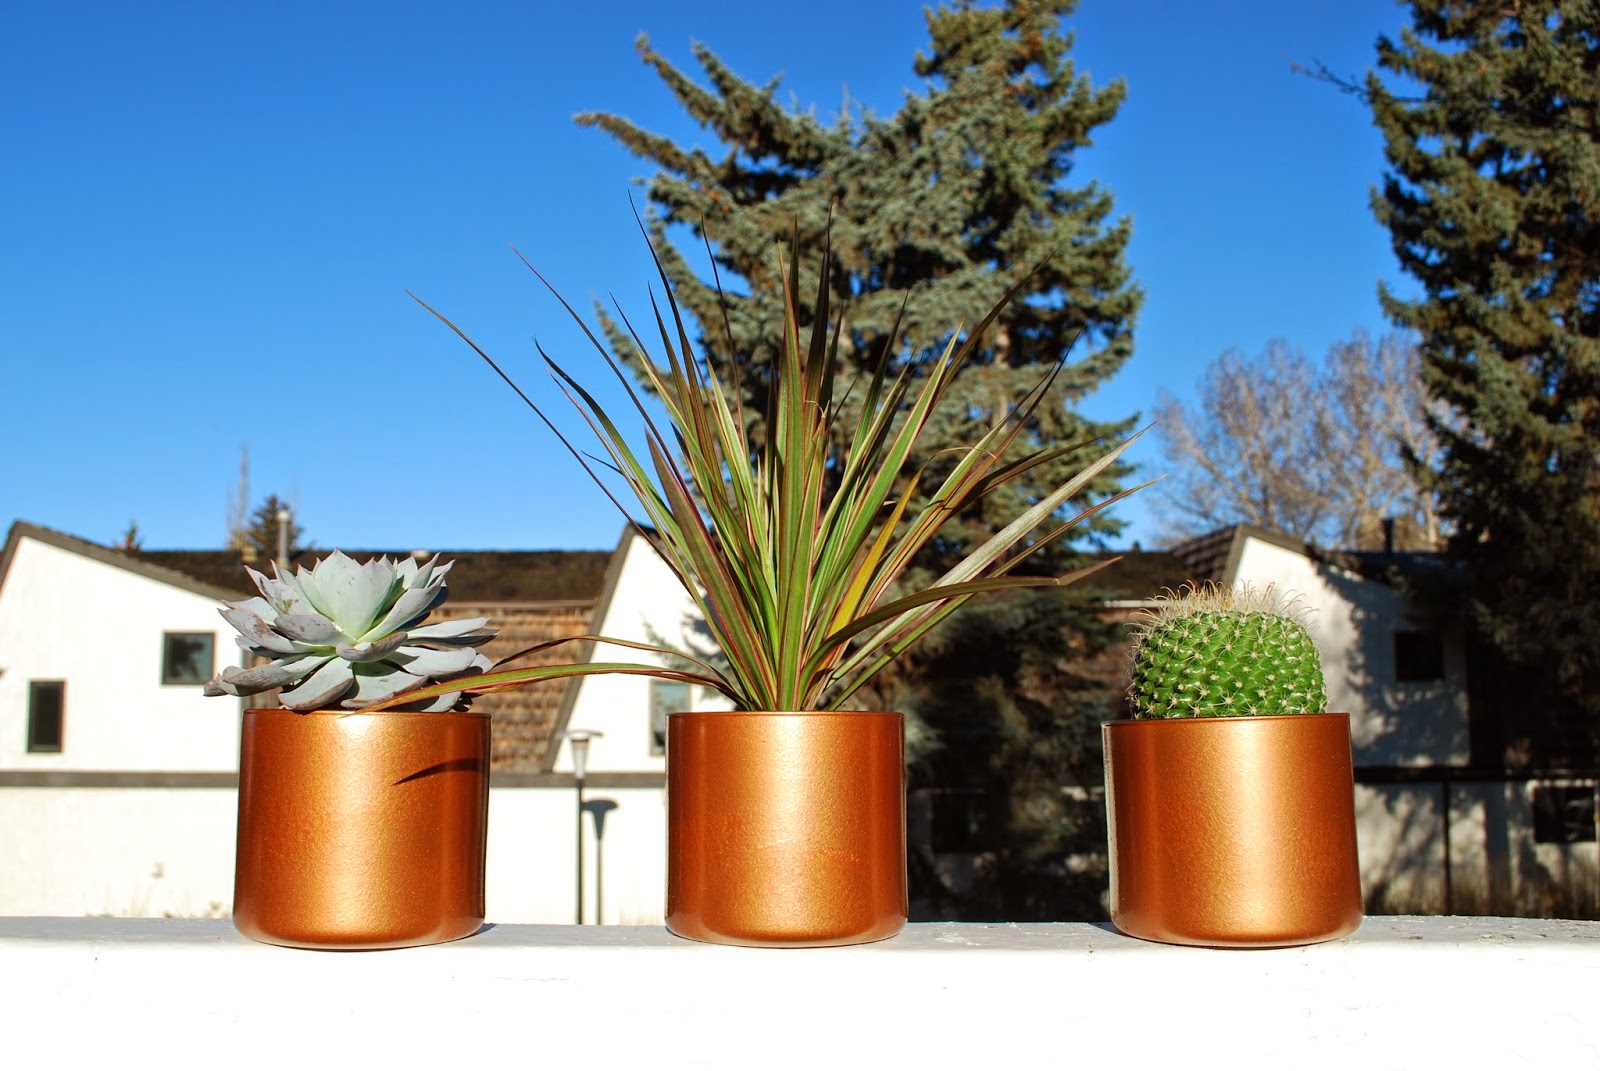
As you have probably learned from some of my previous posts, plants are not my forte. I do love having some greenery in the apartment to add some life and to prove to my self that I don't kill everything (it's only the start of the summer so I'll get back to you guys on that one.) There has been a huge rise in the popularity of cacti and easy to care for but still beautiful arrangements or terrariums that they are called. Having seen some incredible ones at Market Collective and ones made by fellow bloggers and istagramers like Ryan from ImMrFabulous and Lori of theoriginal10cent it's hard to resisted trying to make one myself.
So with a few supplies it was pretty easy to create my own terrarium.
What you will need:
2-3 cactus's (you can also use succulents, and like me I used a small aloe plant) these were purchased from Wal Mart for $3 each
A variety of mosses - My package is from Michaels and is $10. They almost weekly have a 40% online coupon for one regular priced item. So I used the coupon and paid $6
Extra potting soil - I reused the soil that the plants came in along with a bit of soil left over from the plants re-potted earlier in the season.
Glass container - This one is from Homesense for $15 and is the perfect bubble shape that I was going for. You can also try so many other shapes like apothecary vases or a large wide bowl.
Extras: only if you want too..
Drift wood,
Rocks - for decoration or for extra drainage depending on the type of plants you choose
Sand - also for decoration or if you want something lighter instead of soil - but remember what kinds of plants you are using not all cacti will survive in sand.
Silly's - that means things like plastic toys, a hobbit paradise, anything to make it yours.
Adding everything up my terrarium came to $27!
I've also been left with a huge amount of moss.. so there will likely be other projects and/or gifts to friends being made will it.