Showing posts with label DIY. Show all posts

7.17.2014

Ikea Rast Hack/DIY

I've been sitting on this Ikea hack for well over a year now. I'm guessing the images got shuffled around with some old pictures and was lost and forgotten about! So imagine my surprise when I looked over to my left (that's where it sits next to my bed) and thought... "hmm did I ever post about this DIY?" and BOOM realization hit. No I had not! so after some searching the images were found and all you lovely readers can find out how I changed this....


Into this!


What you will need:
Rast drawer Chest  - $40
Wood stain - mine is by Minwax in the colour English Chestnut
White high gloss paint - mine was some left over trim & door paint just in basic white.
Ring pulls - I purchased mine form Lee Valley in the 51mm size. They're pretty cheap at $2.90-3.30 each.
Washers - the ring pulls length is a little longer than the thickness of the wood doors so you will need a few washers to make up the space to make them a tight fit. 
Varnish - I used an aerosol version to apply 1-2 coats. I always have a glass of water on my night stand so this was a must.

It's pretty straight forward on putting this one together. I strongly suggest staining and painting all the pieces before putting them together to get the best coverage.

When applying the stain I used a tea towel and for the paint on the doors I used a roller which was far easier to get even coats on than trying to use a brush. 

This is a great project to heighten the look of an inexpensive side table and in total the cost was around $70 with all the supplies.. also factoring some of the thing I already had.

7.08.2014

Coconut Green Tea Popsicles

It's been a hot couple of days here in Calgary and I'm sure many of you are enjoying stampede and everything that it involves. With the weather being so amazing it makes us all want to find the best way to cool off a bit and what better way than with a nice treat. This one is for the not too sweet tooth but for those looking to enjoy something refreshing and dairy free, and that can be hard to find with frozen desserts. I've found a love of using coconut milk as a dairy substitute and it has turned out amazingly!
What you will need:
1 Can Coconut Milk (400g-ish)
1 Cup Almond Milk
4 Tsp Matcha Green Tea Powder
3 Tsp Agave Nectar or more depending on how sweet you like it

Mix all ingredients together and pour into moulds. Allow them to freeze for 5-6 hours, and there you have it! Simple Coconut Green Tea Popsicles. Yum! 

*For those wondering I didn't have moulds so as a substitute the little Rubbermaid dressing containers that come in the food storage sets were used with some well placed elastic bands to hold the wooden sticks. Yes, I'm talking about the plastic containers with the red lids that come in multi packs at Wal-mart and all the grocery stores. 

6.09.2014

Terrarium DIY

As you have probably learned from some of my previous posts, plants are not my forte. I do love having some greenery in the apartment to add some life and to prove to my self that I don't kill everything (it's only the start of the summer so I'll get back to you guys on that one.) There has been a huge rise in the popularity of cacti and easy to care for but still beautiful arrangements or terrariums that they are called. Having seen some incredible ones at Market Collective and ones made by fellow bloggers and istagramers like Ryan from ImMrFabulous and Lori of theoriginal10cent it's hard to resisted trying to make one myself.

So with a few supplies it was pretty easy to create my own terrarium.

What you will need:

2-3 cactus's (you can also use succulents, and like me I used a small aloe plant) these were purchased from Wal Mart for $3 each
A variety of mosses - My package is from Michaels and is $10. They almost weekly have a 40% online coupon for one regular priced item. So I used the coupon and paid $6
Extra potting soil - I reused the soil that the plants came in along with a bit of soil left over from the plants re-potted earlier in the season. 
Glass container - This one is from Homesense for $15 and is the perfect bubble shape that I was going for. You can also try so many other shapes like apothecary vases or a large wide bowl. 

Extras: only if you want too..
Drift wood,
Rocks - for decoration or for extra drainage depending on the type of plants you choose
Sand - also for decoration or if you want something lighter instead of soil - but remember what kinds of plants you are using not all cacti will survive in sand.
Silly's - that means things like plastic toys, a hobbit paradise, anything to make it yours. 

Adding everything up my terrarium came to $27!

I've also been left with a huge amount of moss.. so there will likely be other projects and/or gifts to friends being made will it.


5.27.2014

DIY: Plexi Glass Wall Art

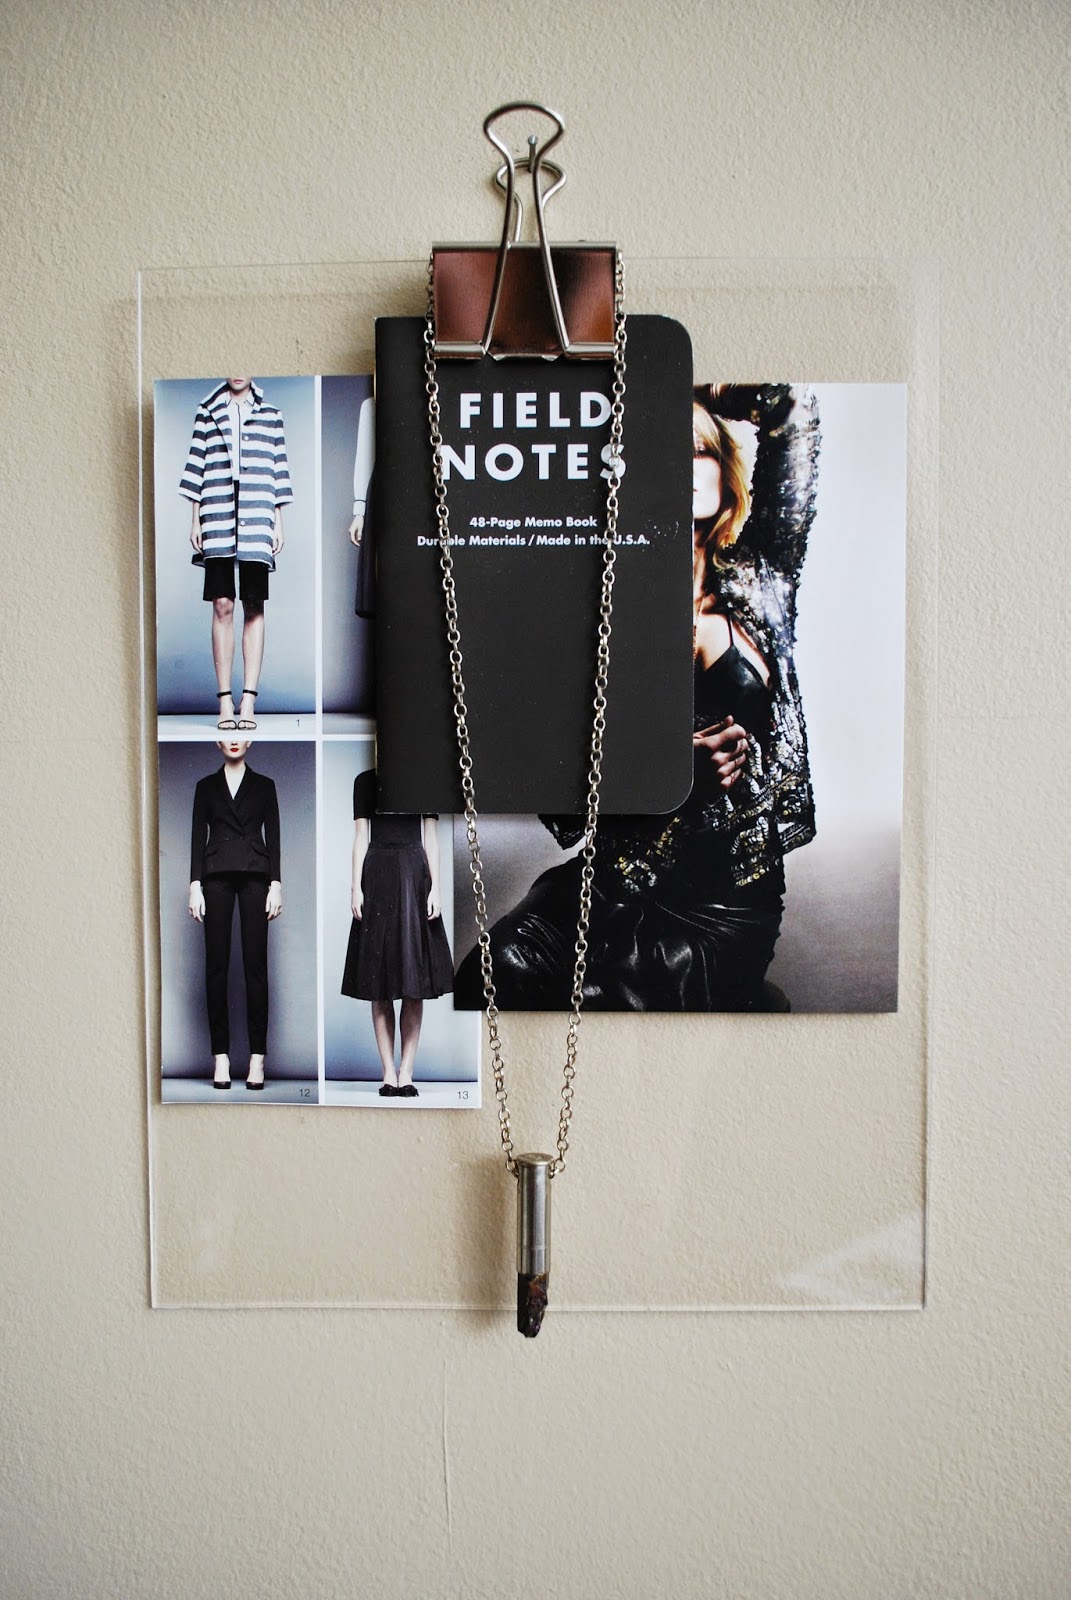
I'm always changing things in the apartment. Either moving things around or putting things in interesting places. Sometimes it's creating something so it can evolve that it really makes my day. I came across the idea for these hanging boards while browsing a few different sites and of course Pinterest. Some bulldog clips were spray painted funky colours or they used a variety of materials like metal sheeting or wood for the backing. My direction is more simple. I went to the local Home Depot and purchased a large acrylic sheet (18 x 24 inches) and cut it into 4 pieces. Of course you can purchase pre-cut pieces but I found I saved quite a bit by cutting them myself. You can watch this handy video on how to do it. The clips are from staples.


There's not much explaining that needs to be done for this DIY. It's as simple as cut, clip, and hang. The fun part is that you can constantly change the items that are clipped. You don't have to put photos in a frame and it's so simple to pull you favourite clippings from a magazine and have them hanging in a second!

5.08.2014

DIY: Wood & Gold Jewelry Holder

If you're like me you love to collect bits and bobs of jewelry that are cute and pretty but often gets forgotten because it gets buried in a box and when I'm rushing out the door it often gets left behind. An amazing outfit without the right accessories can be akin to an unfinished piece of art. Plus, when you complete this DIY your jewelry will look like art hanging from your lovely new wood and gold jewelry display.
 What you will need:

1-1/2 inch wood blocks - the size is up to you if you want to make a bigger statement used bigger blocks.
Wooden dowels - you can also use copper pipe. I couldn't find ones the right width in comparison to the wooden blocks so the wood dowels worked well with some gold paint.
Gold Paint & brush
Super Glue - gel formula is best and one that dries clear
wood stain - whatever colour you like. The one used for this project was chestnut.
Claw hooks - for hanging to the wall. Depending on how permanently you want these stuck to the wall you can also use the super glue to attach it. However if you want to simply cover a nail hole versus whatever taking off super glue might damage it's up to you. In other words if you're renting, sticking super glue to the wall is probably not a good idea.
 Start by staining the wood blocks and painting the wood dowels. I found that 1 coat was enough for the blocks and 2-3 was needed for the dowels to get the right shade of gold. Remember to do this in a well ventilated area. I did it by my patio with the door wide open. 

Once everything is dry after 2-3 hours or the next day. Attach one gold painted dowel to the centre of a block with the super glue. I used a ruler to make sure everything was glued together evenly.

It's as simple as that! Once again if you can't find the flat claw hooks for the backs you can used super glue to attach them to a wall. But it will be difficult to remove and probably will take off some paint so make sure you know what you are prepared to fix.


4.24.2014

DIY Copper Planters

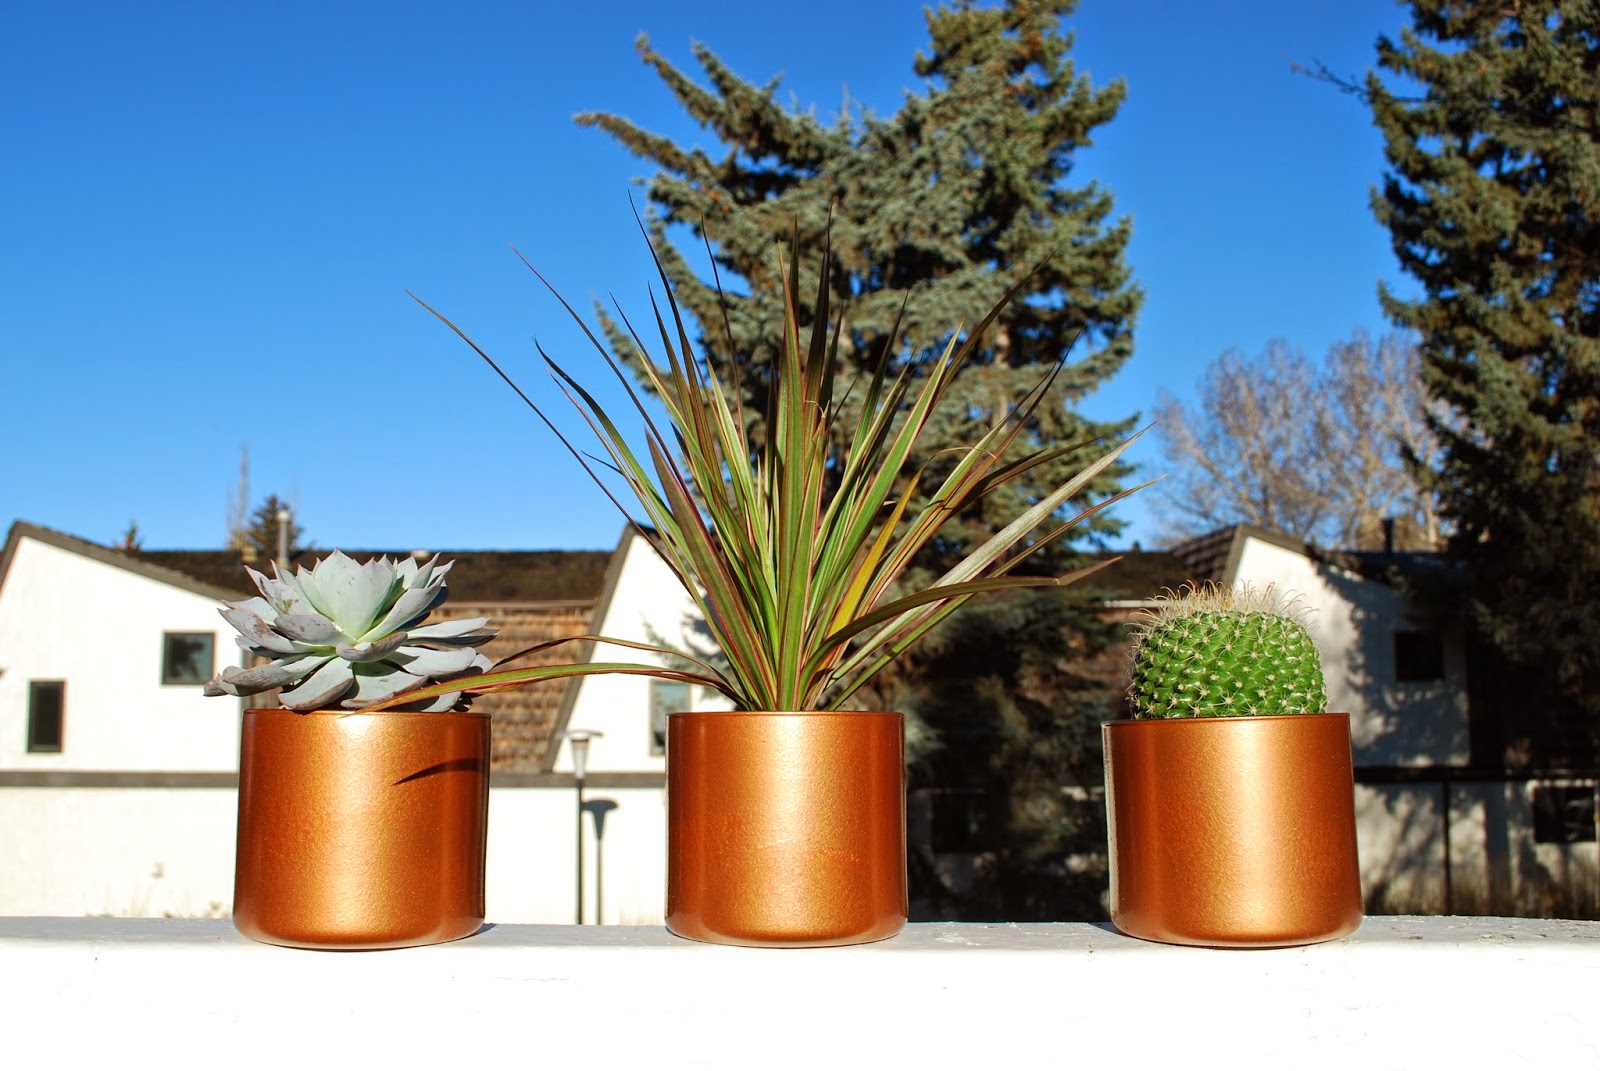
The good weather has put me in a mood to start cleaning up the patio and add some plants. My one problem is that I'm a plant killer. Everything just dies and when I say everything, no joke. Everything! It's mostly because of neglect. I'm often running around busy with friends, blogging, events, work.. and so many other adventures that watering my plants isn't a 1st priority. So many friends have suggested cactus's and succulents (I killed mine last year) but here's to another chance. Maybe these will survive or my lovely roommate will water them occasionally for me. I've already been stabbed by the cactus twice so this maybe a sign that this will not go so well. 
Enough of me talking about killing plants. This post is about is the planters. As usual i've been pinning like mad and come across so many variations of copper planters that are so lovely that they simply needed to be DIY'd. I've amassed a collection of glass candle jars (these are the bath & body works 3 wick size) When they go on sale, I buy! lets just say they go on sale often.
What you will need:
Glass jars, tins, old vases
Copper spray paint - this one is from home depot. The colouring is darker for this version which also has a bit of the hammered texture. You can also try Walmart or Michaels for a lighter colour.
News paper/ card board - something to protect the surface around what you are spraying

These were pretty simple to do, but remember to spray them in a well ventilated area. Like a patio or open garage. For the best results spray them with 2-3 light layers and 30 min in between to avoid drips for the best even coverage. 
The cost of this project was about $20:
3 plants from walmart - $10
Spray paint from Home Depot - $10
Glass Jars - reused from finished candles

4.14.2014

Marble Macbook DIY

My Macbook is a huge and very significant part of my life. It contains hundreds of photos and videos along with countless folders of school work and other important documents. Of course all this information is backed up, but my Mac is still my gateway to them along with where I spend time writing posts and countless hours on the internet. I realized that it is an extension of me almost like my iPhone.. just a little less portable. And as often as my iPhone case changes the Macbook has had this lovely decal for almost 3 years so it was time for a change. The original marble DIY was spotted on Design Lykke. My search for the right vinyl was pretty difficult but after some googling, Ebay was the winner. 

What you will need:
Marble print vinyl - mine is light grey/white
Scissors
Ruler - I suggest using a plastic one to avoid puncturing the vinyl
Exacter Knife - only if you want to cut out the apple


4.09.2014

Mendl's Box DIY


It's been exactly 1 week since I saw The Grand Budapest Hotel the newest film from Wes Anderson. All my closest friends know how much I adore his films and each one is a never ending source of visual ecstasy. He builds such beautiful worlds for his characters to inhabit and they are so meticulously filled with the perfect props it's hard to choose a favourite sometimes. For those who have seen the film Mendl's is the patisserie that Agatha, Zero's love interest works at. It's pretty central to the story line but I won't say anymore because I would not want to spoil it for those who have yet to see it.  

All that can be said is that Mendl's pastries looked delicious and the packaging is so adorable with the light pink boxes and blue ribbon. It really makes me wish there was a Mendl's in real life that I could visit. The beautiful desserts used in my photos are from Yann Haute Patisserie. They in my opinion make the best desserts and of course macarons in the city!

For those who want a little piece of Mendl's in their life you can make the box pictured above to put your homemade desserts or just to have on a shelf to look pretty. 

What you will need:
Pink card stock
Tape
Scissors
Blue robbon

You can use this visual or the box template.

I used the visual because you can make it any size you want and simply tape together 5 print outs to make a large box. The box template only makes a small box which is still great to store jewelry or tiny bits.


3.20.2014

Perk Up with Coffee Jello

I've acquired a taste for coffee in the last year. Honestly before all I drank was tea and coffee made me think, bleh! but I've slowly moved towards coffee and as usual it's not just one thing that I begin to like.. it has to be everything in-between. Coffee flavored everything, like candies, ice cream, desserts and now jello. A caffeine fix in a jiggly format. This recipe is an Asian style dessert because it uses condensed milk which is popular in Vietnamese coffees and desserts. The popular jelly recipe is normally jello with the creme on top but to make things easier and more portable I've mixed it all together.   
 What you will need:
1 - Can sweetened condensed milk
3 - Packets Knox unflavoured gelatin
2 - Cups strong coffee, hot
1/2 - Cup cold water

1. Place 1/2 c cold water in a bowl.
2. Sprinkle 3 unflavored gelatin packets over the water. Let sit until the gelatin blooms, about 5 minutes.
3. Stir in the hot coffee and mix until the gelatin is completely dissolved.
4. Stir in the can of sweetened condensed milk.
5. Pour into glass pan. Thickness of finished jello depends on the size of the pan. I used a 7 x 11 pan but a 9 x 13 pan will give you thinner pieces and an 8 x 8 pan will give you thicker pieces.

Recipe taken from Food Librarian

11.20.2013

Holiday Printable Roundup for 2013

1. Free Printable Monogram Gift Tags (available in 4 color choices) created by Sarah Khandjian for How About Orange

Tis the season for free printable gift tags and other festive freebies offered by some of my favorite creatives online. Lucky us! Here are a few of my favorites from around the web. If you know of any great designs that I missed here I’d love for you to share a link in the comment section below. The more the merrier!
2. Free Chalkboard-Style Printable Gift Tags with hand-lettering/illustration by Emily McDowel | from Poppytalk

8.13.2013

DIY Flower Crown


After browsing hundreds.. okay not that many but there are a huge number of flower crowns on Pinterest I was inspired to make my own for the next outfit post. It was incredibly easy and so customizable to your taste. I chose to go with white, purple, and a touch of yellow.

What you will need:
Headband
Fake flowers - choose a variety of shapes to mix and fill in spaces
Metal wire - choose a thin gauge like the stuff used in jewellery making


All my supplies were purchased at Dollarama and the crown cost about $5-6 to make.